You Will Need
Arduino Uno
USB B Cable
Windows 10, Windows 8, Windows 7, Mac, or Linux OS
Arduino IDE
About 15 minutes
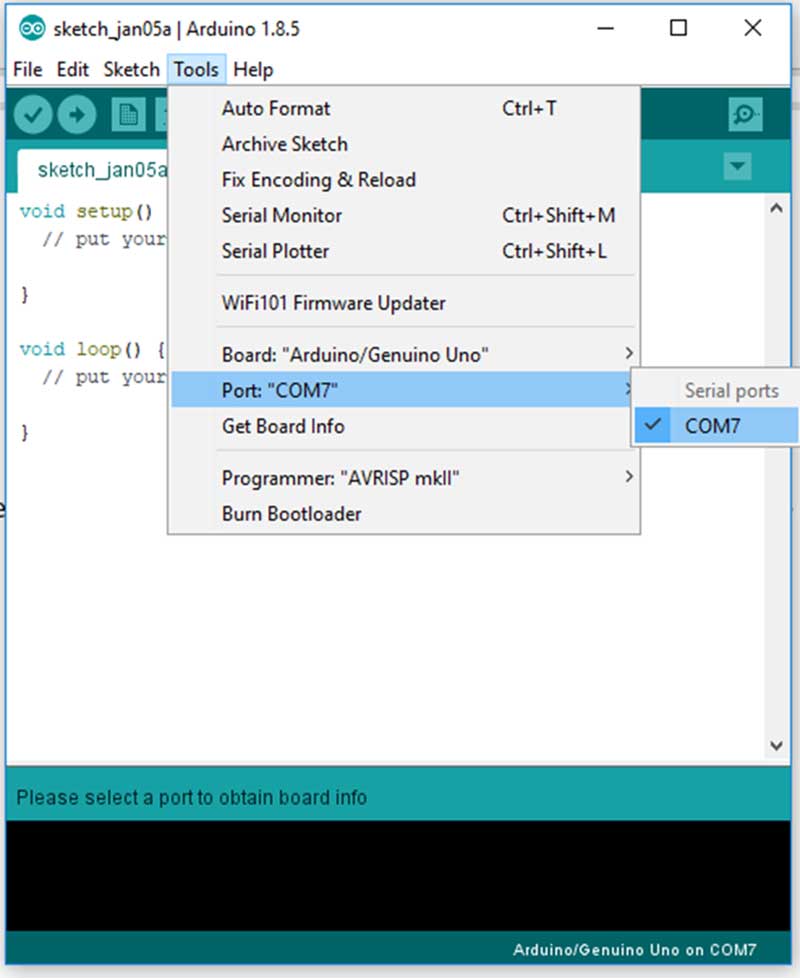
Next, you must tell the IDE which COM port the Arduino is on. To do this, navigate to Tools > Port > COM7. Obviously, if your Arduino is on a different port, select that port instead.
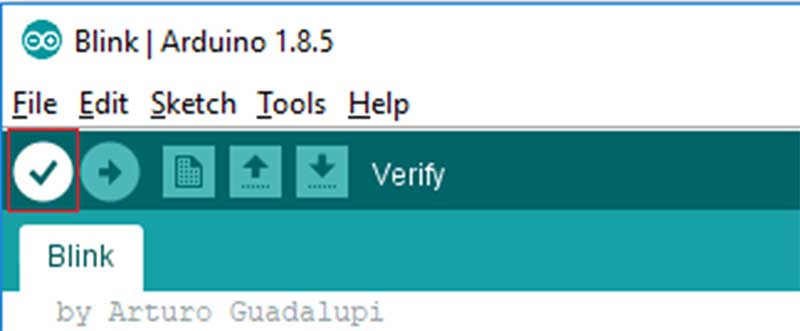
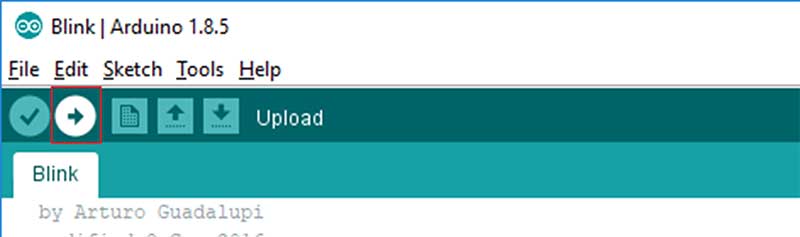
For the sake of simplicity, we will load an example project that the Arduino IDE comes with. This example will make the onboard LED blink for a second continuously. To load this example, click File > Examples > 01.Basics > Blink.
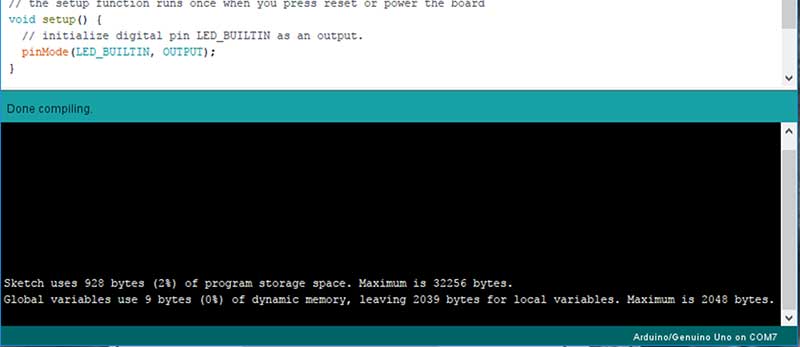
If the compilation stage was successful, you should see the following message in the output window at the bottom of the IDE. You might also see a similar message—just it’s one that does not have words like “ERROR” and “WARNING”.
This is a successful compilation.
The Arduino is a powerful prototyping tool for many reasons, including its lack of a dedicated programmer, its wide range of available libraries, and the simplicity of its IDE. While we only got a light to blink in this project, you can expect much more in the future. Try your hand at interfacing with displays, taking measurements, talking over the internet, and possibly even working with AI!